
Introduction
Thank you for purchasing the Kierkegaard Template by Pixco.
This documentation provides all the necessary steps to help you set up and customize the template to suit your needs.
Don’t have the template yet? Purchase it here.
Getting Started
To maintain brand consistency, we recommend starting with your "Styles" settings.
This helps ensure consistent fonts and colors across your website. To get started, click the Assets tab in the top-left panel, scroll down to Styles and update the fonts and colors to align with your brand.

Customizing the Header
The header is a key component of your site’s navigation, ideal for giving users quick access to important links.
You can fully customize the header within the Layout Template, Framer’s new approach to designing reusable elements that can be applied across all pages, eliminating the need to edit components and elements individually on each page.
Elements within a Layout Template are easy to recognize, as they’re outlined with dashed lines around the component.
Editing the Header
To edit the header, double-click the header component, or go to Assets and select Main under the Template section.
Within the header, you can easily:
Upload your logo by double-clicking the logo component and replacing it with your own file.
Show or hide coordinates.
Show or hide local time and timezone.
Change the button label from “Purchase” to your preferred text, and assign a link to the button.

Editing the Menu
The Kierkegaard Template features a sleek fullscreen, overlay-style menu. To edit the menu, double-click the header component. (In the left panel, under the Layers tab, the “Header” layer will be highlighted in purple, indicating the currently selected layer)

To access the menu, click on “Overlay” to open the “Menu Overlay” on the canvas. Next, double-click the Menu Overlay component to start editing. To update a menu item, select it and use the “Content” field in the properties panel on the right to change its name. Repeat this process for each menu item as needed.

Customizing the Footer
Editing the footer is simple and straightforward. Just like the header, the footer can also be fully customized within the Layout Template.
To get started, double-click the Footer component to access and edit its elements, including the footer menu. The sliding ticker displaying social links can also be updated. Select the text on the canvas to change social media names and assign the respective links. You can also repurpose the ticker to showcase any custom message. Zoom out to view all text connected to the ticker.

Customizing the Preloader
The Preloader is one of the many custom-built components in the template, designed to enhance the overall user experience by adding a unique touch to the site’s look and feel. This preloader for Framer actually waits for page load as opposed to others which only add a time delay before they display the page.
Just like the other components, the preloader is highly flexible, offering several customization options. You can change the pixel color per page to align with your brand, select from three (3) different effects, adjust the pixel size, or even turn it off completely.
To modify the preloader settings, simply click on the preloader in the Layers Panel, which will open its properties in the right panel where you can make your adjustments. If you decide to disable the preloader, simply toggle the “Visible” option off from the properties on right.

Customizing the CMS
The CMS is designed to seamlessly support a variety of use cases for showcasing projects, offering flexibility to fit your specific needs.
What's unique about the project pages of this template is the smart build around the blocks relying on CMS controls and conditional logic to show/hide sections based on need.
An example, for the main hero, you can choose between video, carousel, or plain image per project, which brings variety and makes your work pages feel more dynamic.
You have the option to add:
Detailed descriptions of the project, including information about the category, client, and timeline.
Multiple two-column layouts, which are particularly useful for projects that require a more detailed visual representation or a side-by-side comparison of elements. For the project pages, if you only add content to one of the columns (left or right), that will stretch to occupy the entire real-estate turning it into one column dynamically through the use of conditional logic that's pre-built into the template. This gives you ample options to mix and match between one and two columns for your projects.
Padding controls to ensure consistency in spacing across all pages, maintaining a uniform look throughout the site.
Additionally, you can always refer to the demo pages as an excellent starting point. These demo pages provide insight into how the layout and content were carefully crafted, allowing you to dive deeper into the design and adapt it to your specific needs.

Updating Featured Images on the Homepage
The hero section features beautifully arranged side-by-side images with descriptions, perfect for showcasing your latest project. Easily managed through the CMS, this flexible structure offers a range of options, making it simple to update images and descriptions to reflect your work and expertise.
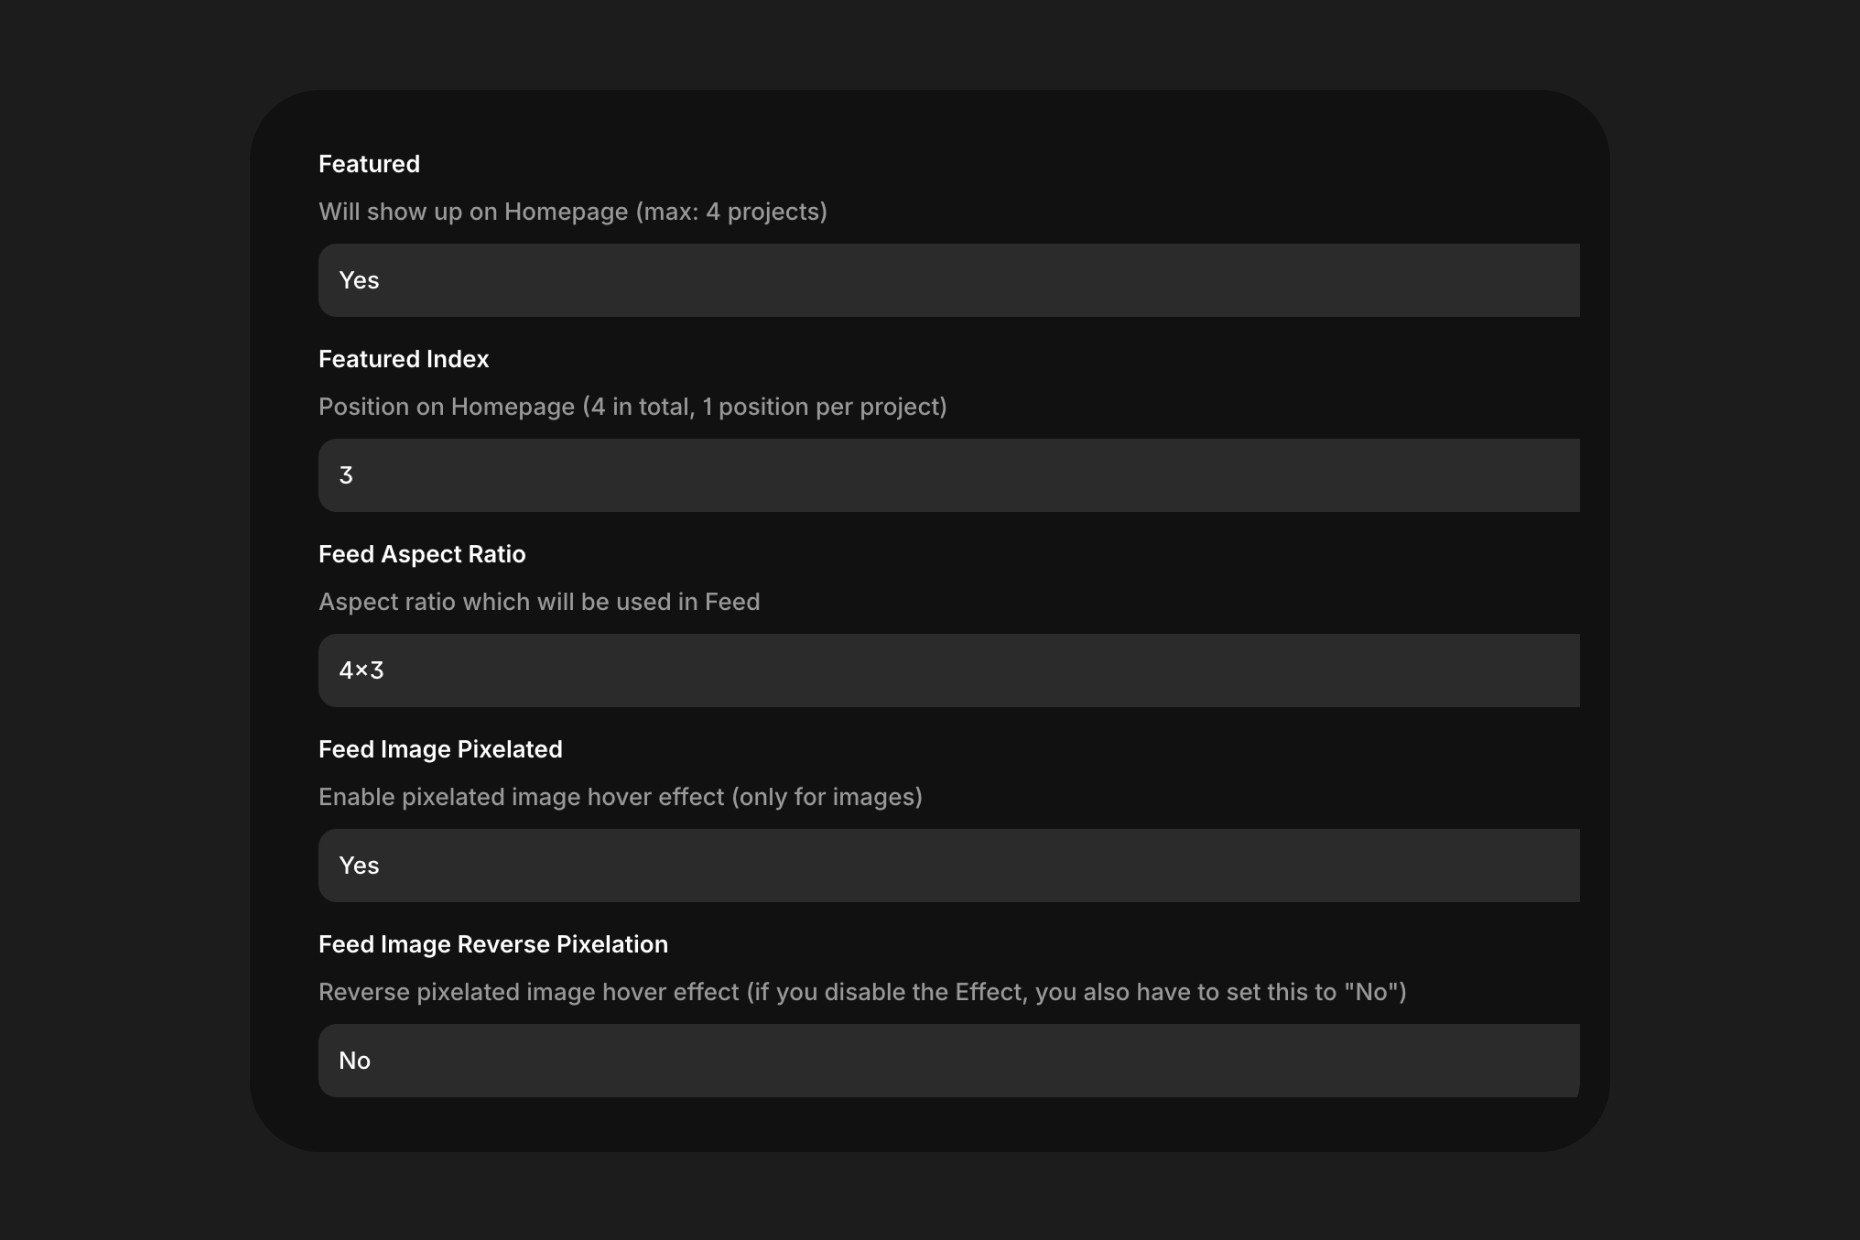
Updating Images
All images and descriptions for the hero section are managed through the CMS, specifically within the “Work” collection.
To update an image, navigate to the CMS and select the Work collection. From there, you can either edit an existing entry by updating the image and its details, or create a new item altogether. The flexible structure offers plenty of options to choose and customize, so feel free to experiment and tailor each entry to best showcase your project.
Customizing Categories/Capabilities
In this template “Category” is used to also represent Capabilities, such as Philosophy, Branding, Design and Copywriting. The content displayed is dynamic and pulled directly from the CMS.
To set up your categories, go to the CMS, select the “Category” collection, and add the categories you’d like to include.

Changing Cursor Images on Hover
To change the hover image in the Capabilities section, go to the “Assets” tab, scroll down to the Cursor Folder, and select the Cursor Image Component. Then, click on each image and upload your desired image using the file uploader in the right panel.

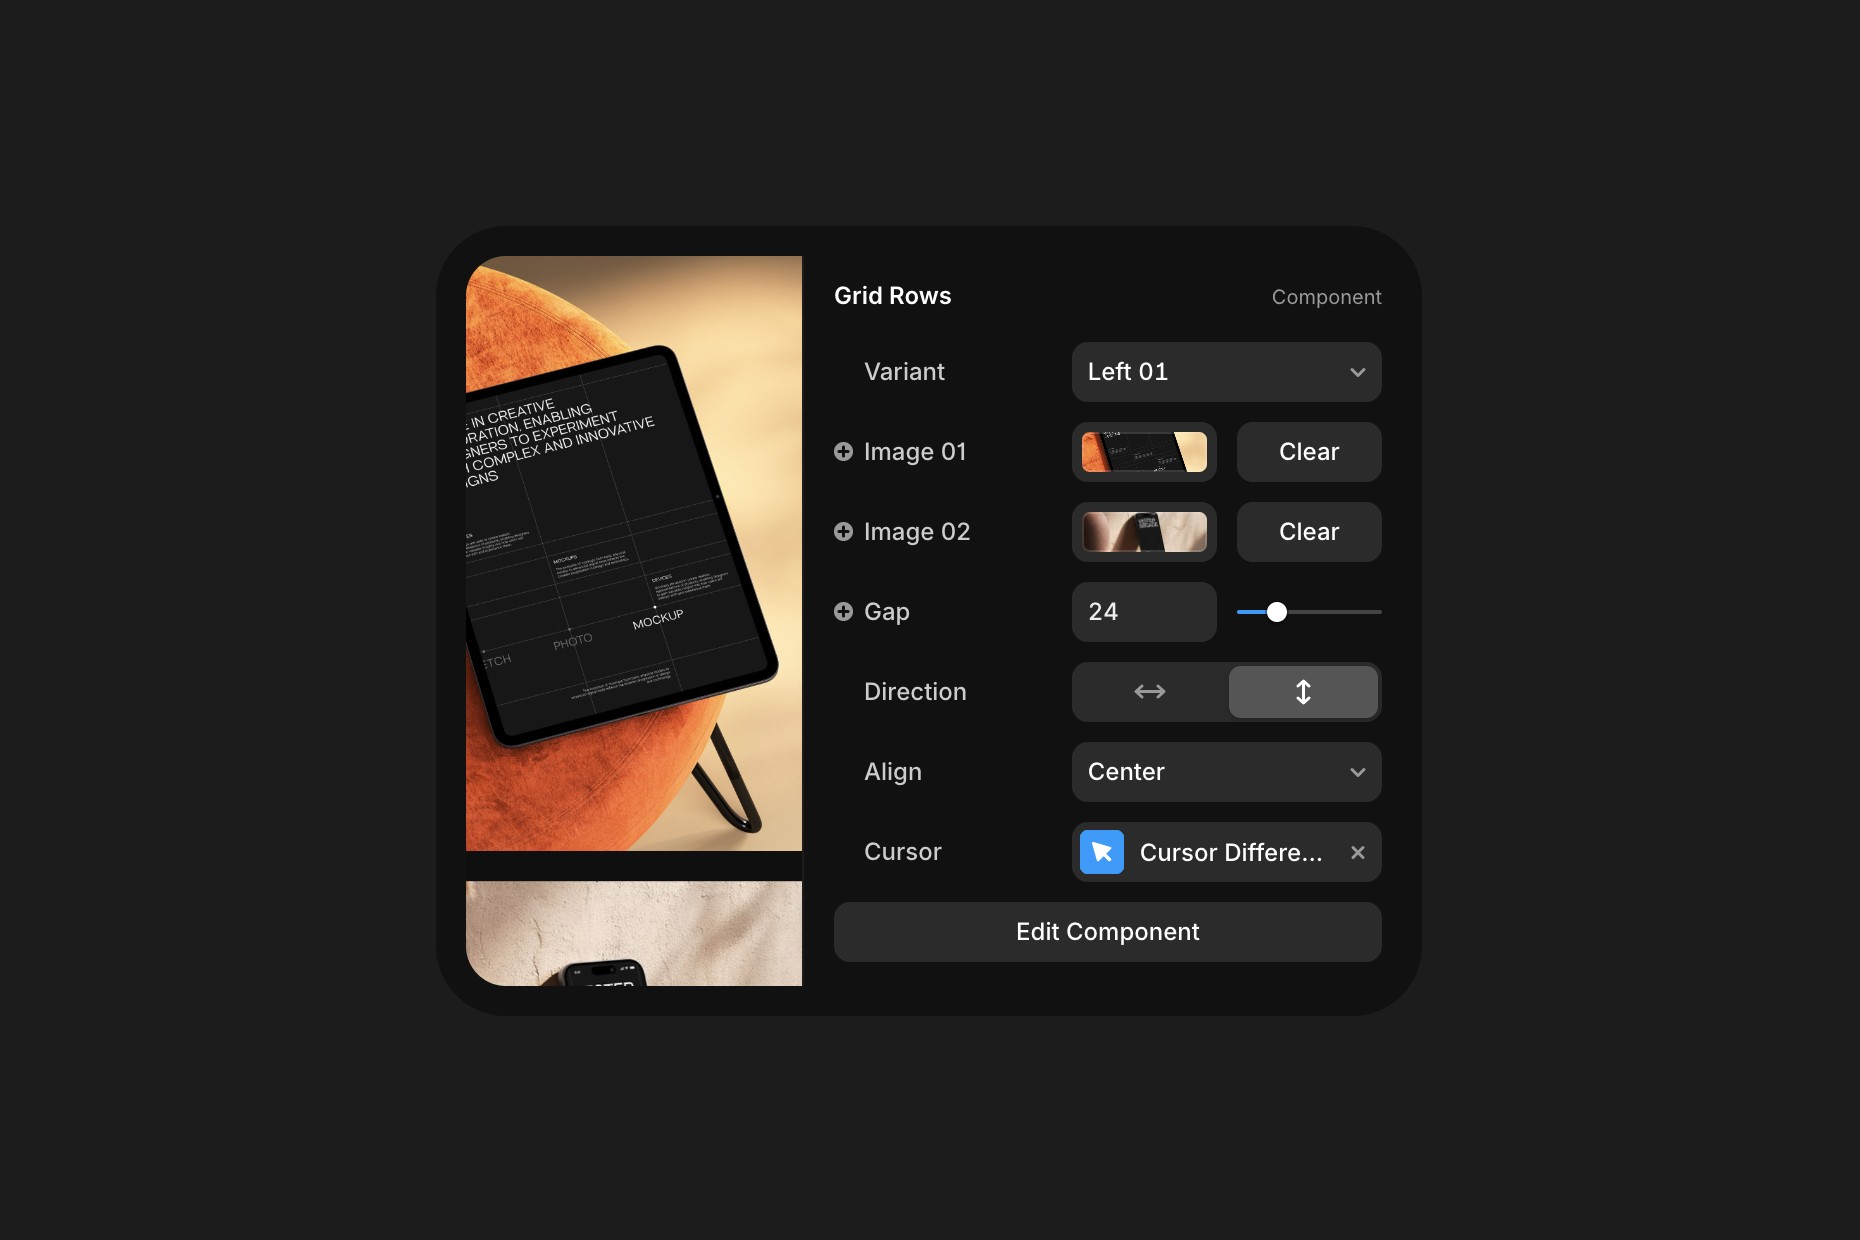
Updating the Gallery
The gallery section features a clean, stacked layout with two vertical images, perfect for showcasing visuals in a clean and minimalist style.
To update the images, simply select the gallery component on the canvas. Then, upload your new images to replace Image 01 and Image 02. This allows you to easily replace the content while maintaining the overall design structure.
Make sure to upload high resolution images as they will also be used for the Lightbox that enlarges the images on click.
Customizing Testimonials
The Testimonials component makes it easy to showcase feedback and reviews from past clients, helping build trust and credibility with your audience.
Designed for flexibility, it’s simple to customize and adjust, with the ability to tweak even the smallest details. To customize the testimonials, select the component on the canvas, from the right panel, you can update text and images to match your brand and tone.

FAQ Section
The FAQ section offers a clean and structured format for presenting frequently asked questions.
It's an effective way to provide clear, accessible answers, helping users get the information they need without scrolling through lengthy content.
The FAQ section is designed to scale effortlessly, allowing you to include as many questions as needed to address your audience's concerns.

Editing the Contact Form
The contact form has been carefully designed to capture all the essential information from your clients. If you need to add or remove any fields, it’s simple.
To edit the form, double-click the Form Component to access the fields.
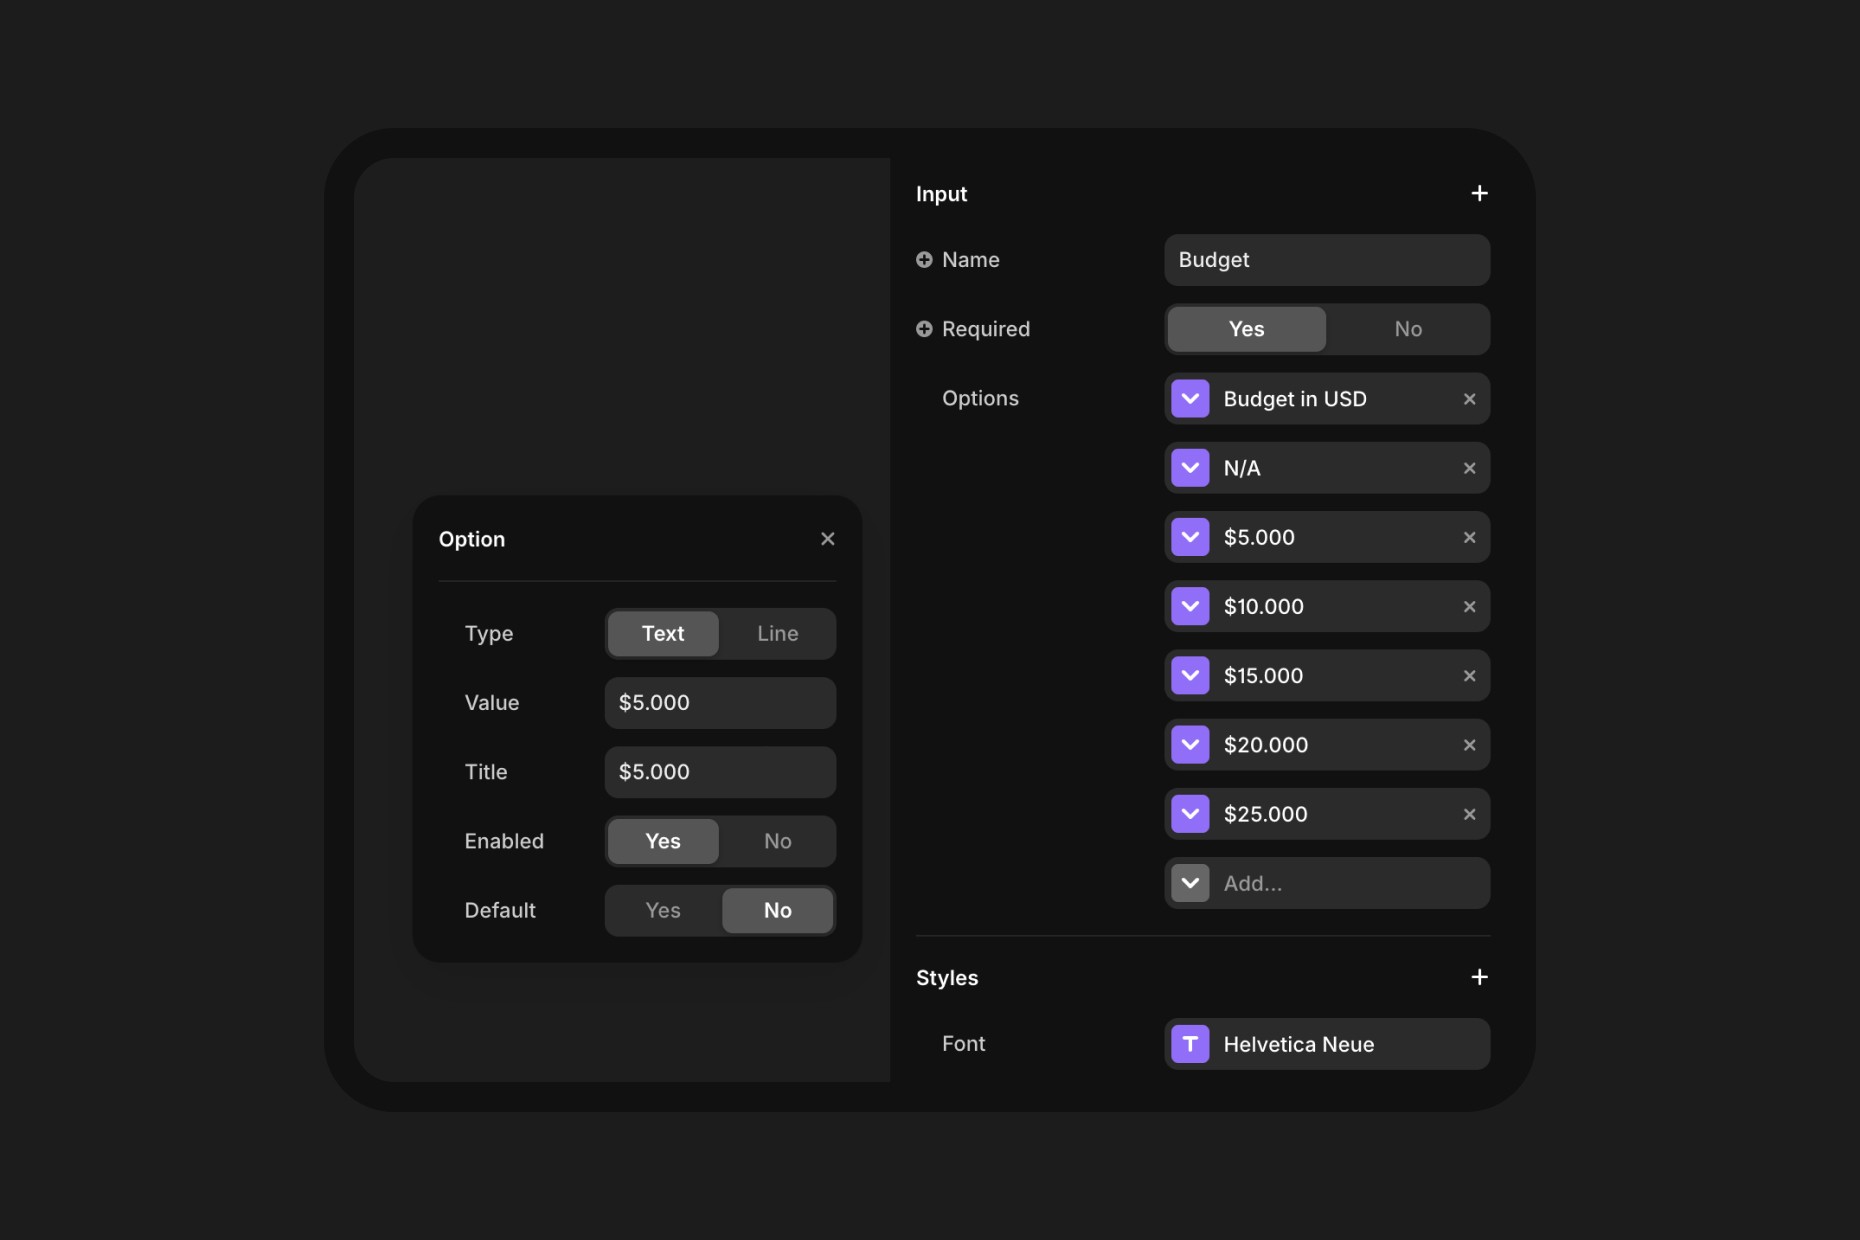
To remove a field, select the field label either from the canvas or the layer panel, then press Delete.
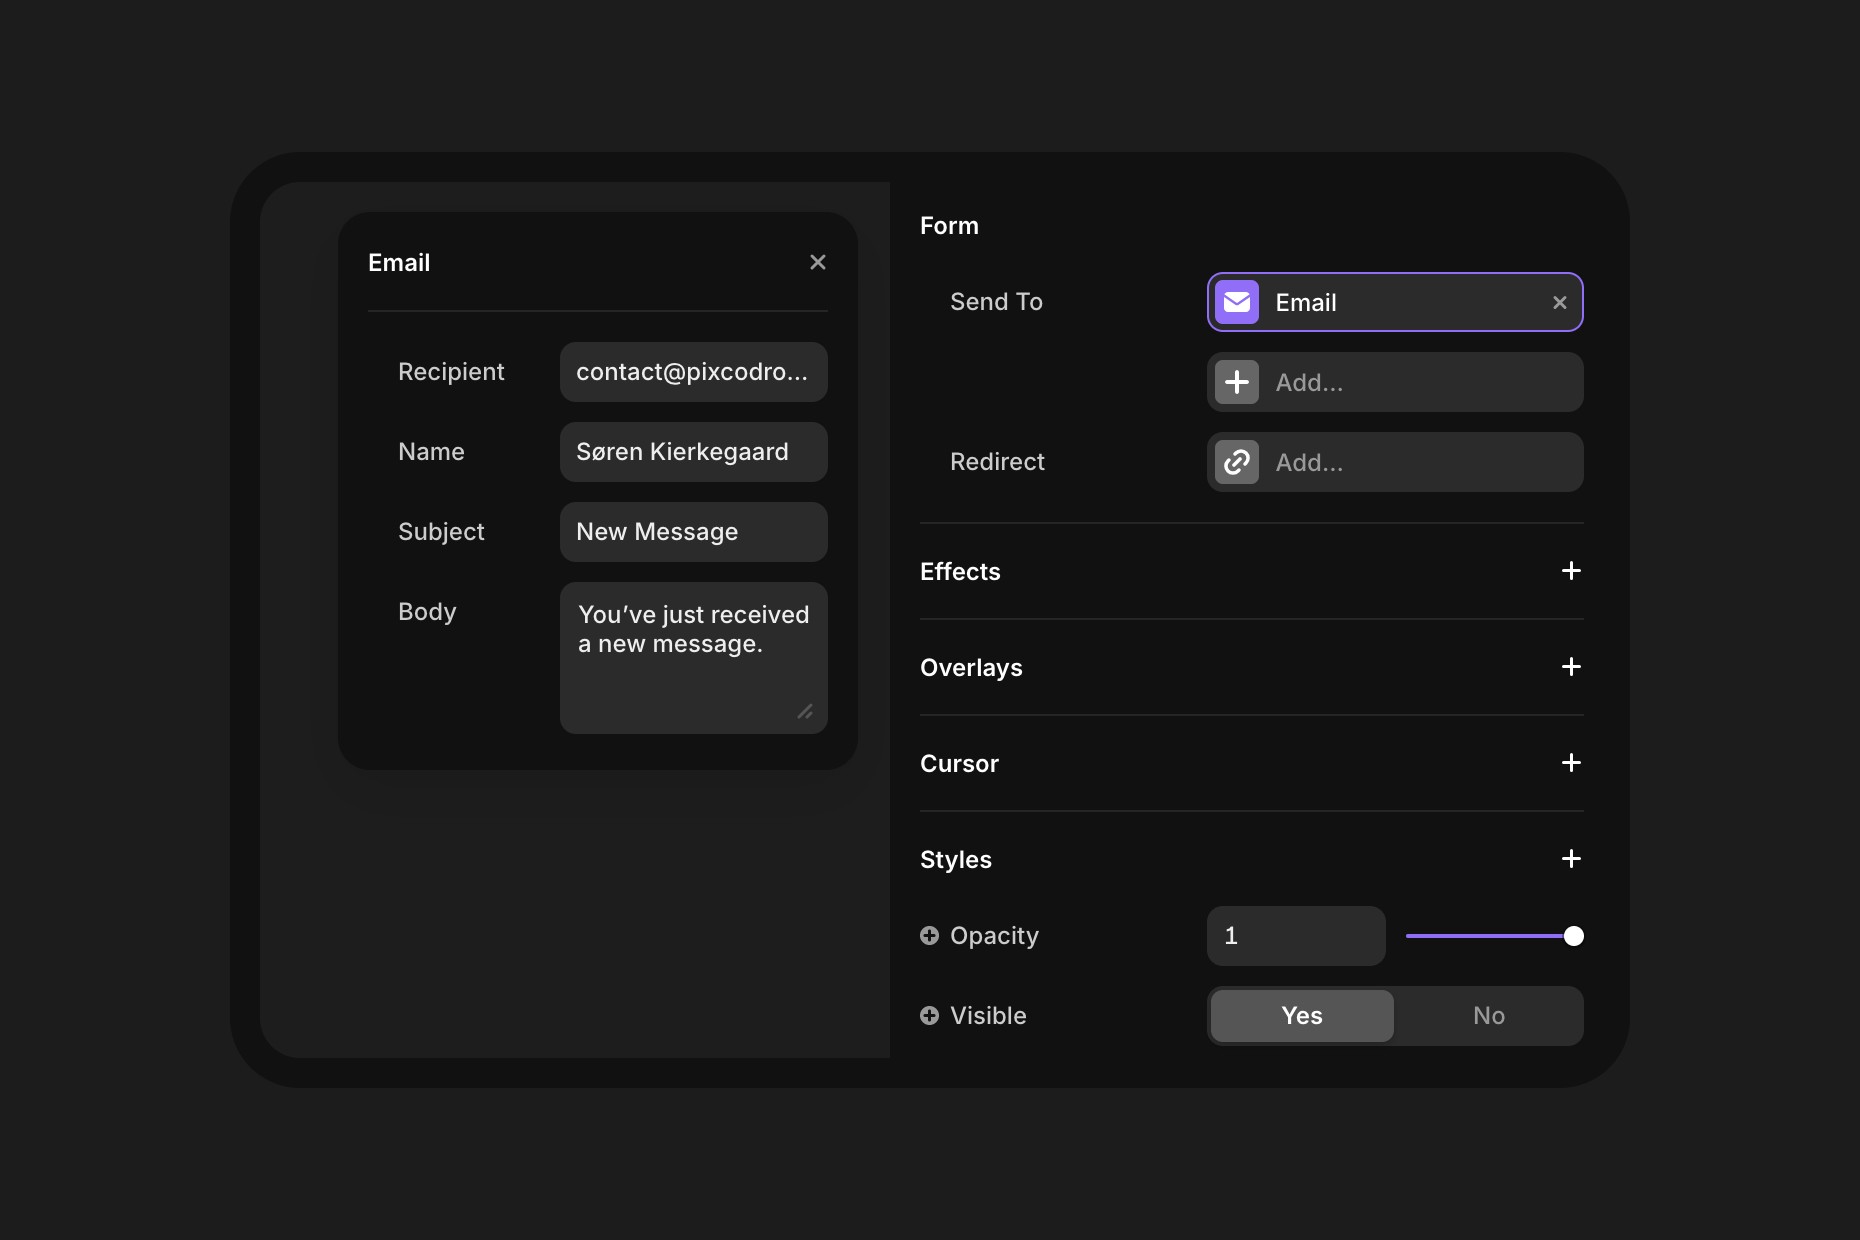
To add a new field, click on the Form component in the layer panel. A “+” sign will appear at the bottom of the form, indicating the option to Add a new field. Click the “+”, choose your desired field type.
Lastly, you’ll need to assign an email address to receive the form submissions. Select the form in the layer panel, go to the form section in the right panel, and enter the desired email address in the “Send To” field. This will ensure that submissions are directed to the correct recipient.
Legal Pages
Legal pages, such as the Privacy Policy and Terms and Conditions, are designed to be easily updated within the template. Thanks to the integrated Rich Text Formatting, you can either copy and paste your pre-written content directly into the editor or write your text for these pages.
The editor offers a user-friendly interface, allowing you to format the text as needed, ensuring your legal content is clear, professional and aligned with your website's overall style. This flexibility makes maintaining and updating these pages quick and easy.


